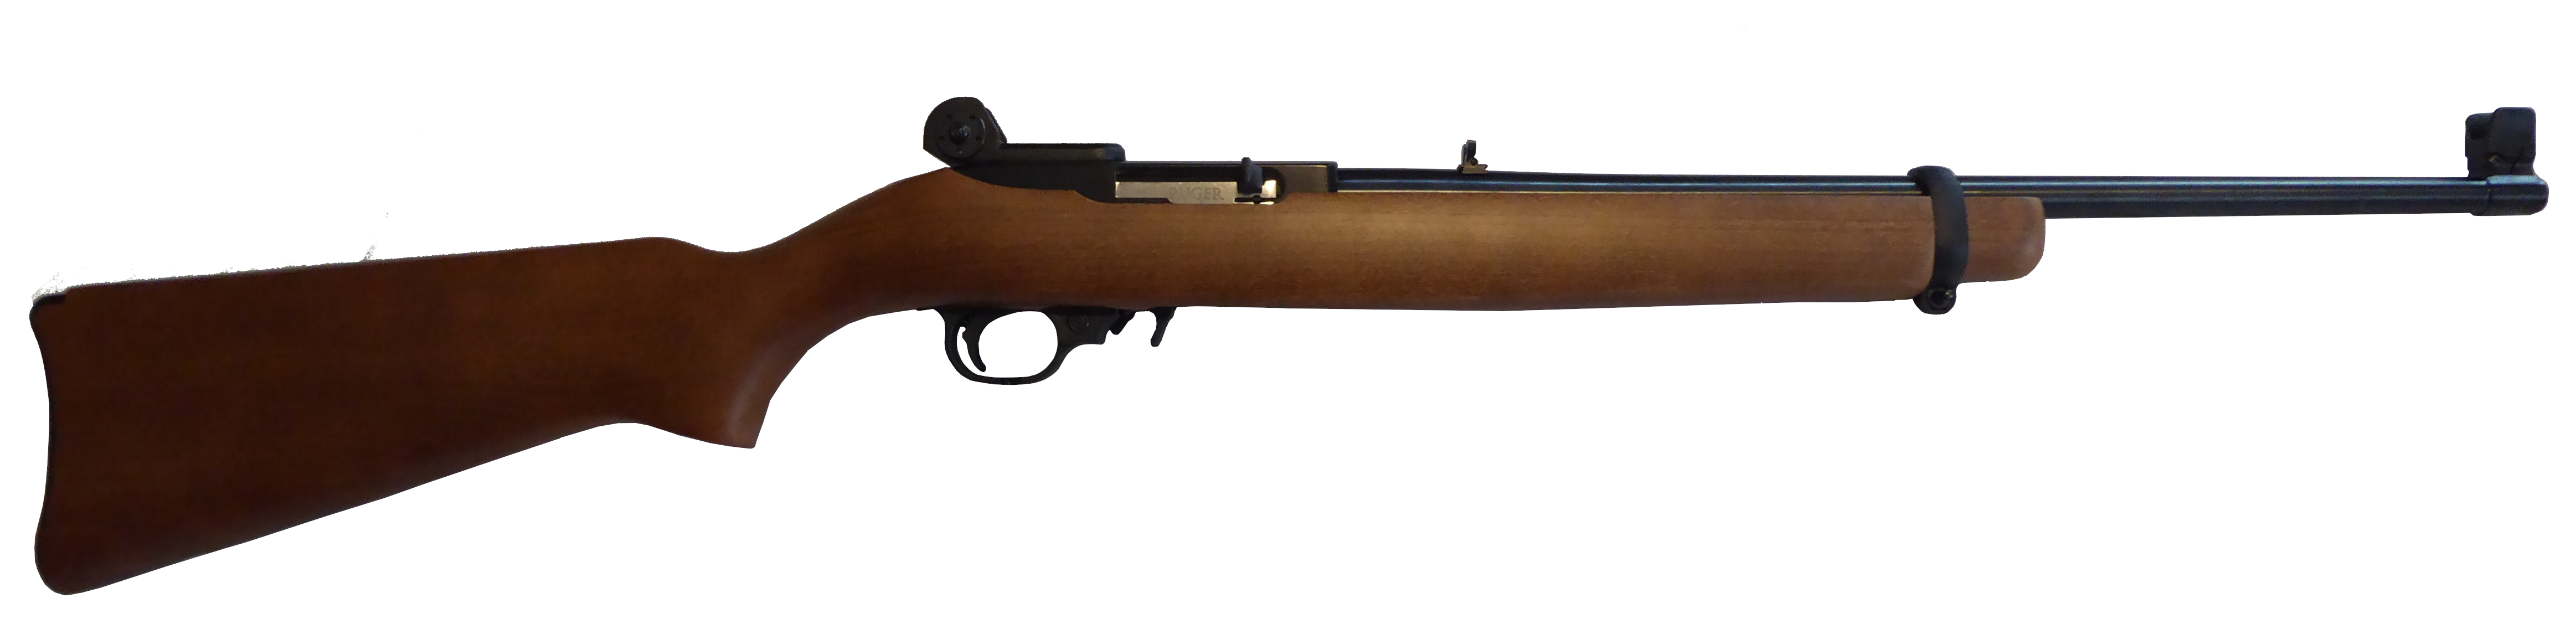
Tech Sights aperture sights are one of the best modifications you can make to the very popular and reliable Ruger 10/22 rimfire rifle. Installing Tech Sights on a Ruger 10/22 is an easy project that usually doesn't require the services of a gunsmith. With just a few tools, you can perform this installation on your workbench or kitchen table.
The rifle we used for this guide is a bone-stock Ruger 10/22 carbine. The action and factory sights should be the same regardless of exact model or trim level, with the exception being 10/22 models with .920" bull barrels without front sights. If you have a Ruger 10/22 with a .920" bull barrel and no front sights, you'll need the Tech Sights TS157 barrel adapter to install the required front sight.
These instructions will work for both the Tech Sights TSR100 and Tech Sights TSR200 aperture sights. A TSR200 is just a TSR100 with a different rear aperture assembly, and a TSR100 can be converted to a TSR200 by installing the TS220 elevation adjustable aperture. The TSR200 has both elevation and windage adjustments on the rear sight, the TSR100 only has windage adjustment. 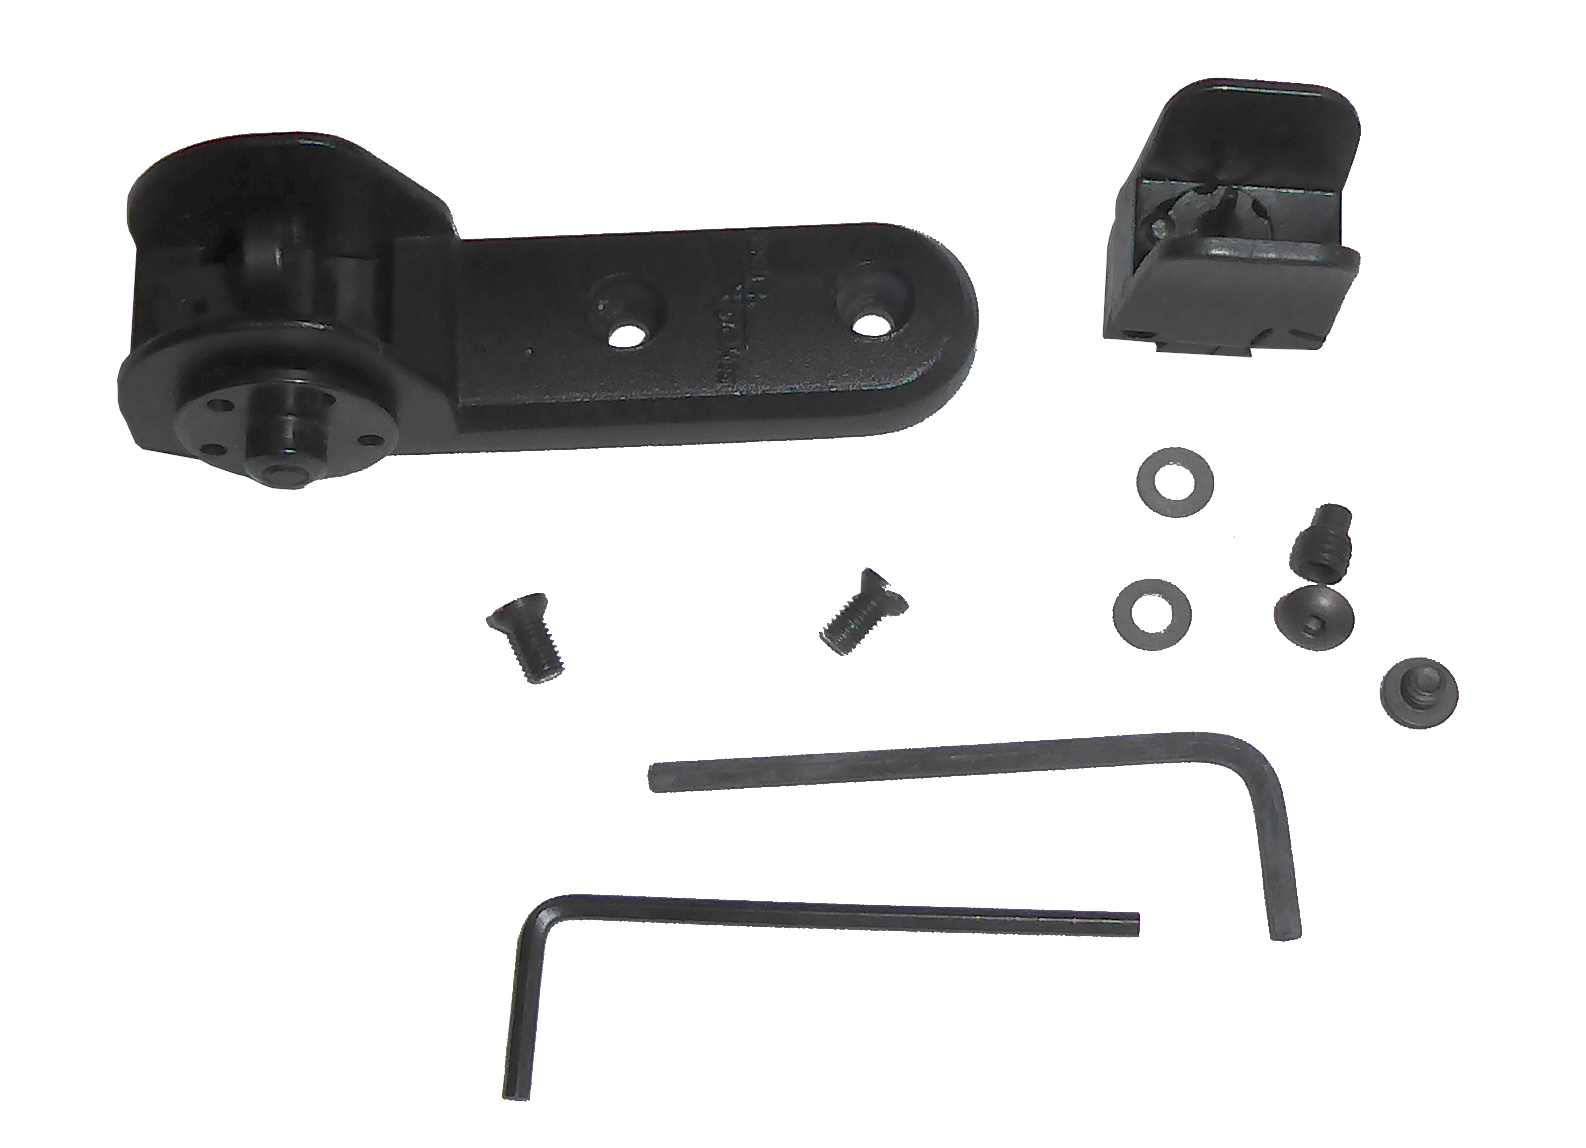
Start by taking an inventory of the contents of your Tech Sights retail packaging. It should contain:
- Front sight assembly
- Rear sight assembly
- TS00215 stop washer (x2)
- TS00216 button head screw (x2)
- TS00217 socket set screw
- TS00143 6-48 flat head screw (x2)
- 5/64" allen key
- 3/32" allen key
You will need some basic tools to install your Tech Sights:
- Small flathead screwdriver
- Hammer
- Brass punch
- Propane or butane torch
- Blue thread lock compound
Remove the magazine from the rifle and clear the chamber. Work the action until you can visually confirm that there are not cartridges in the chamber and that it is empty. Always treat the firearm like it's loaded.
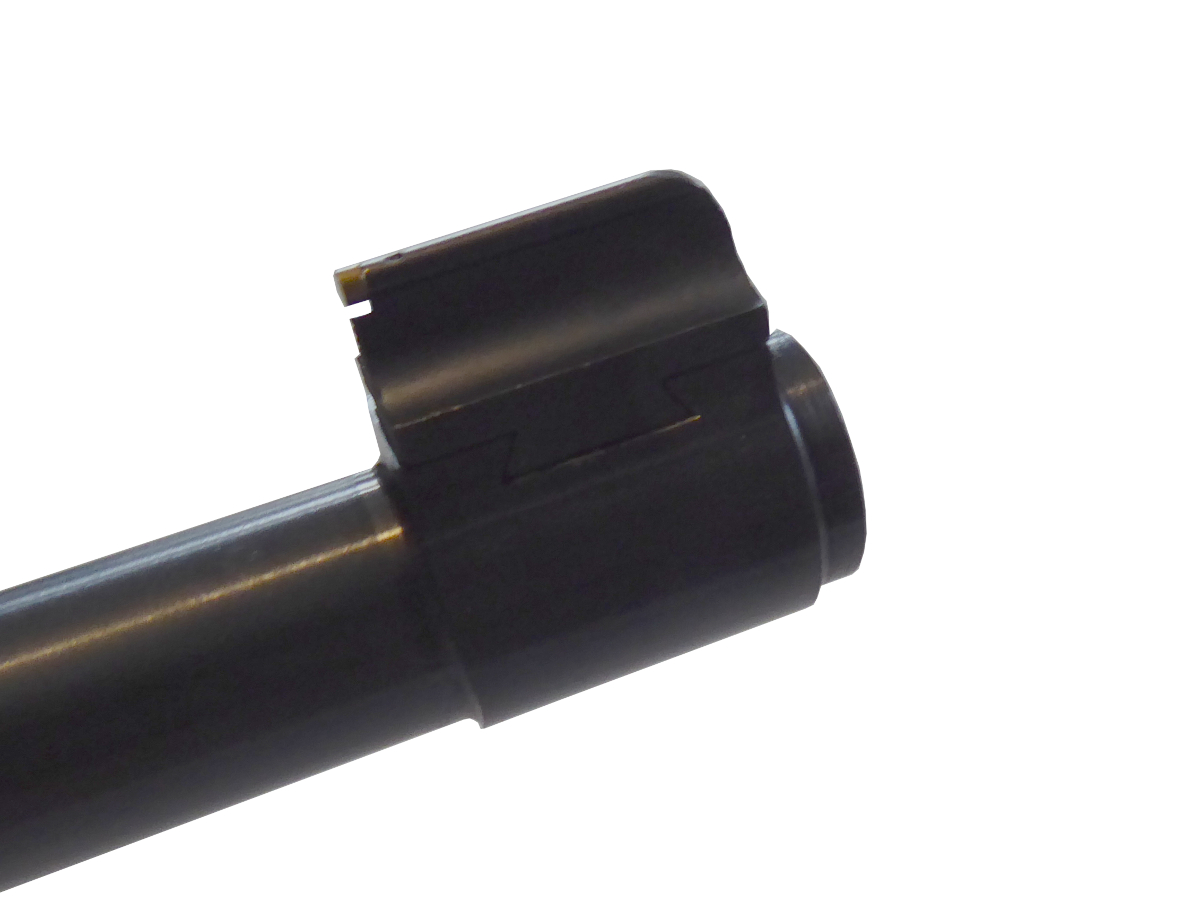
The factory front sight of the Ruger 10/22 isn't the worst factory front sight out there, but it will need to be removed because it is not compatible with the Tech Sights rear aperture sight. Secure the barrel just below the front sight assembly, and support the rest of the rifle to avoid bending the barrel. Bending the barrel would defeat the purpose of installing your sights, and will not help accuracy or resale value.
Using your brass punch and hammer, drive the front sight out of the dovetail from left to right. Non-brass punches may be used, but you risk damaging the finish of your rifle. You can use scraps of wood or plastic to protect your rifle finish, but there is a high likelihood that you will damage the factory front sight during removal regardless of the tools or methods used.
Depending on when your 10/22 was manufactured, your front sight could come out with little effort, or it may require a heavy hand. Our 10/22 was manufactured in 2024, and we believe the factory may have installed it using their strongest adhesive. We had to heat the front sight with a torch and apply substantial force to remove it. Some people have reported that they have to apply more mechanical force to remove the front sight, up to and including Dremel tools or angle grinders. If you must grind out the front sight, make sure you do not damage the factory barrel dovetail!
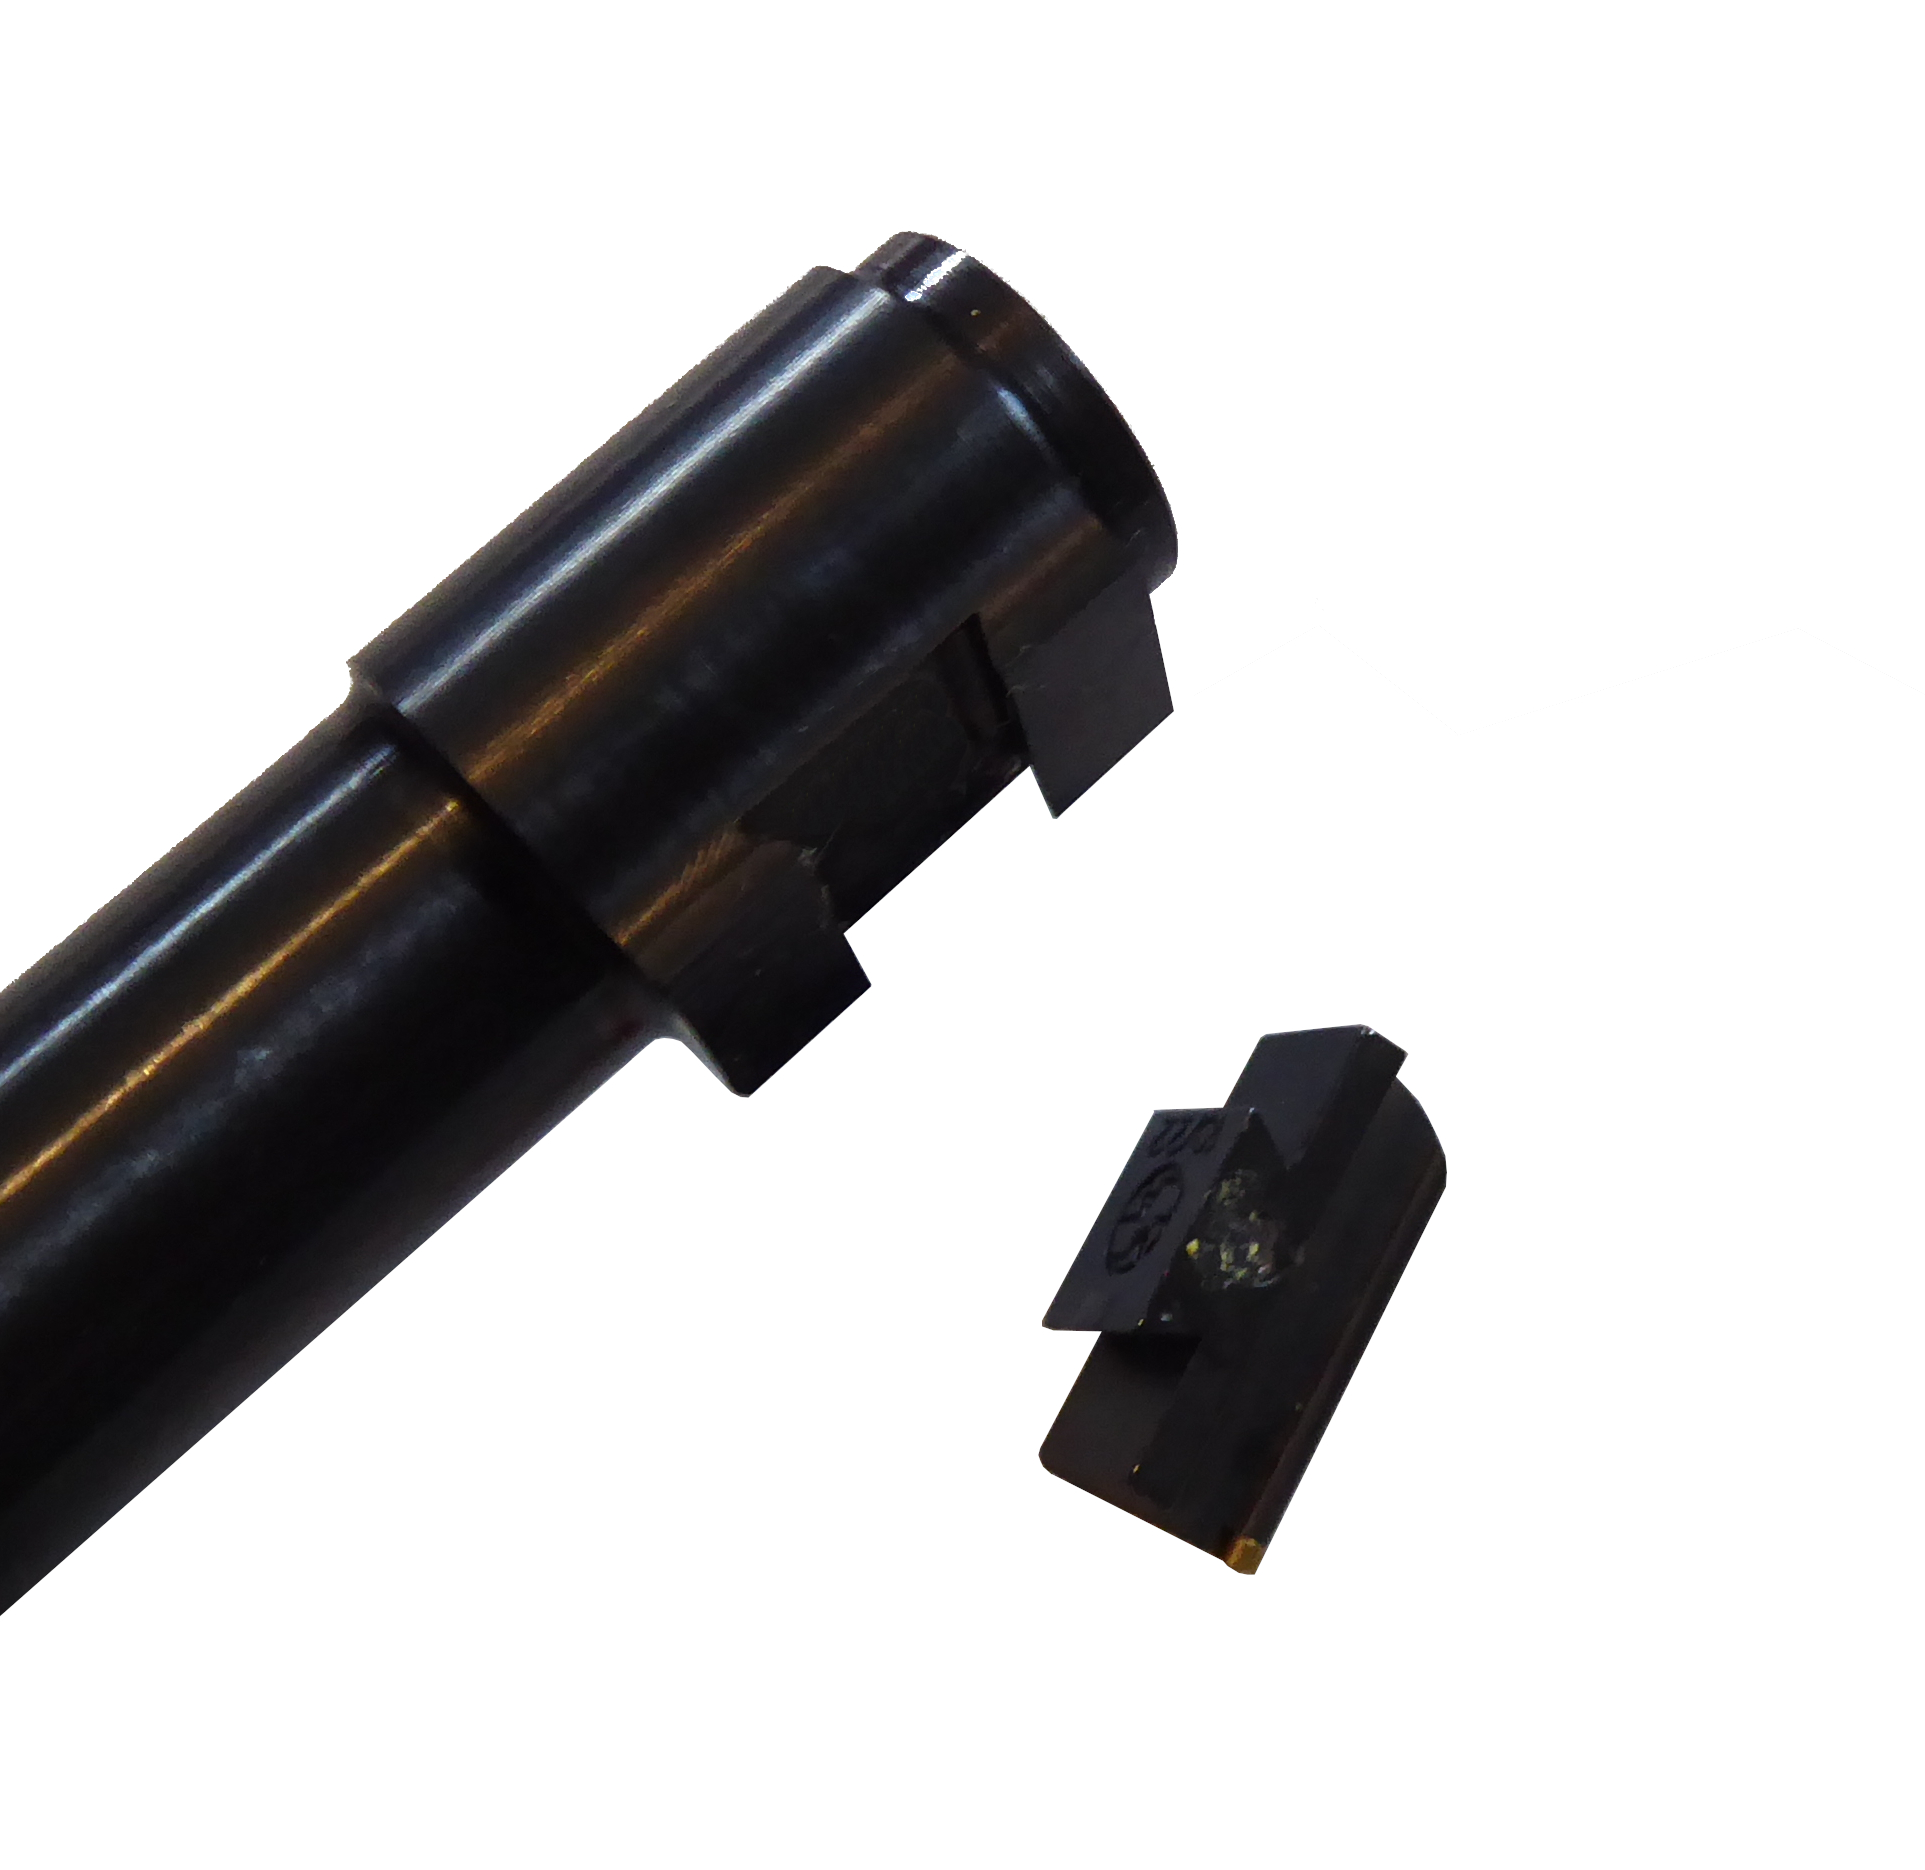
Once the stock front sight is removed, you can clean the front dovetail of any adhesive or grinding debris. If the button head screws and washers are installed on the new front sight, remove them before attempting to install.
Before inserting the set screw, apply a small amount of blue thread locker. The Tech Sights front sight assembly should slide freely into the dovetail from the right side to the left. Center the front sight assembly in the middle of the dovetail, and install the TS00217 socket set screw. Do not fully tighten the set screw yet.
Apply blue thread locker to the TST00216 button head screws, and install a screw and a washer in each side of the front sight assembly using the 5/64" allen key. Use a small amount of blue thread locking compound. If you use too much thread locker, it can be forced into the cavity containing the spring and detent for the front sight post. This can cause problems with front sight adjustment.
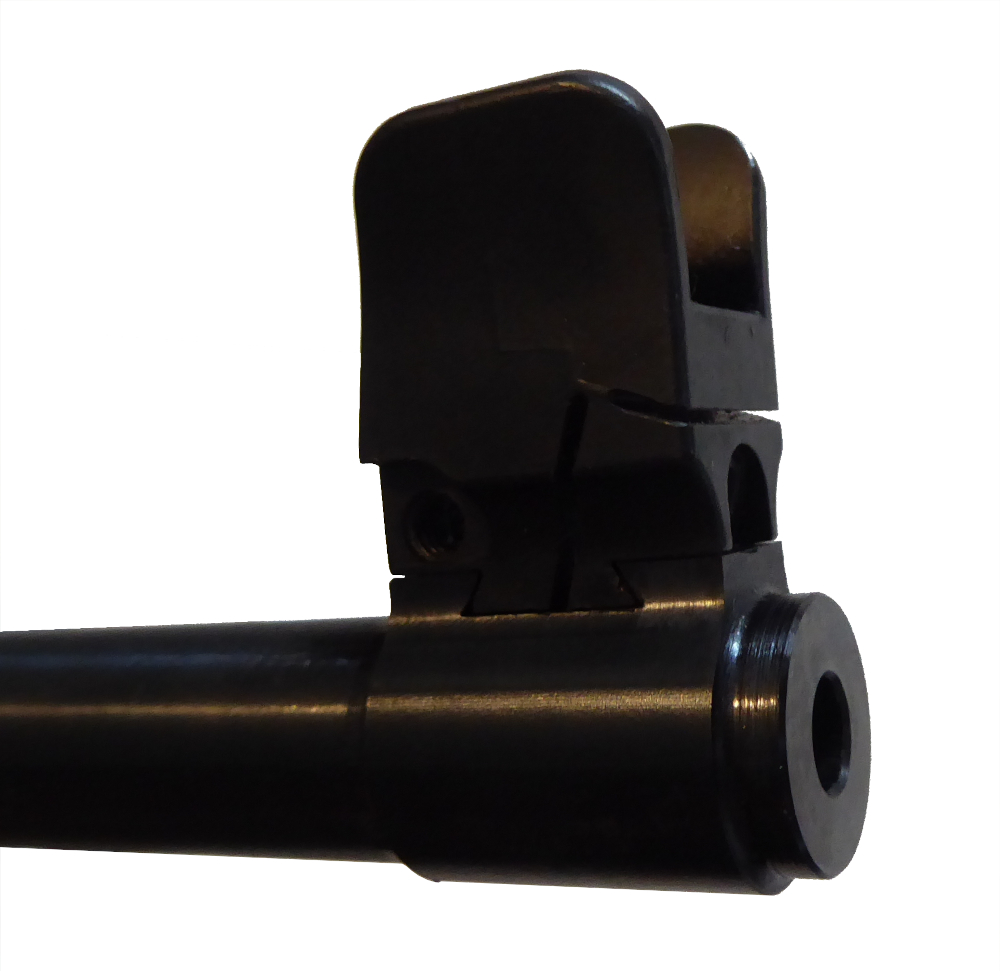
With the button head screws installed, you can now snug down the TS00217 set screw, and the TST00216 button head screws. Do not over tighten the screws, or damage may result.
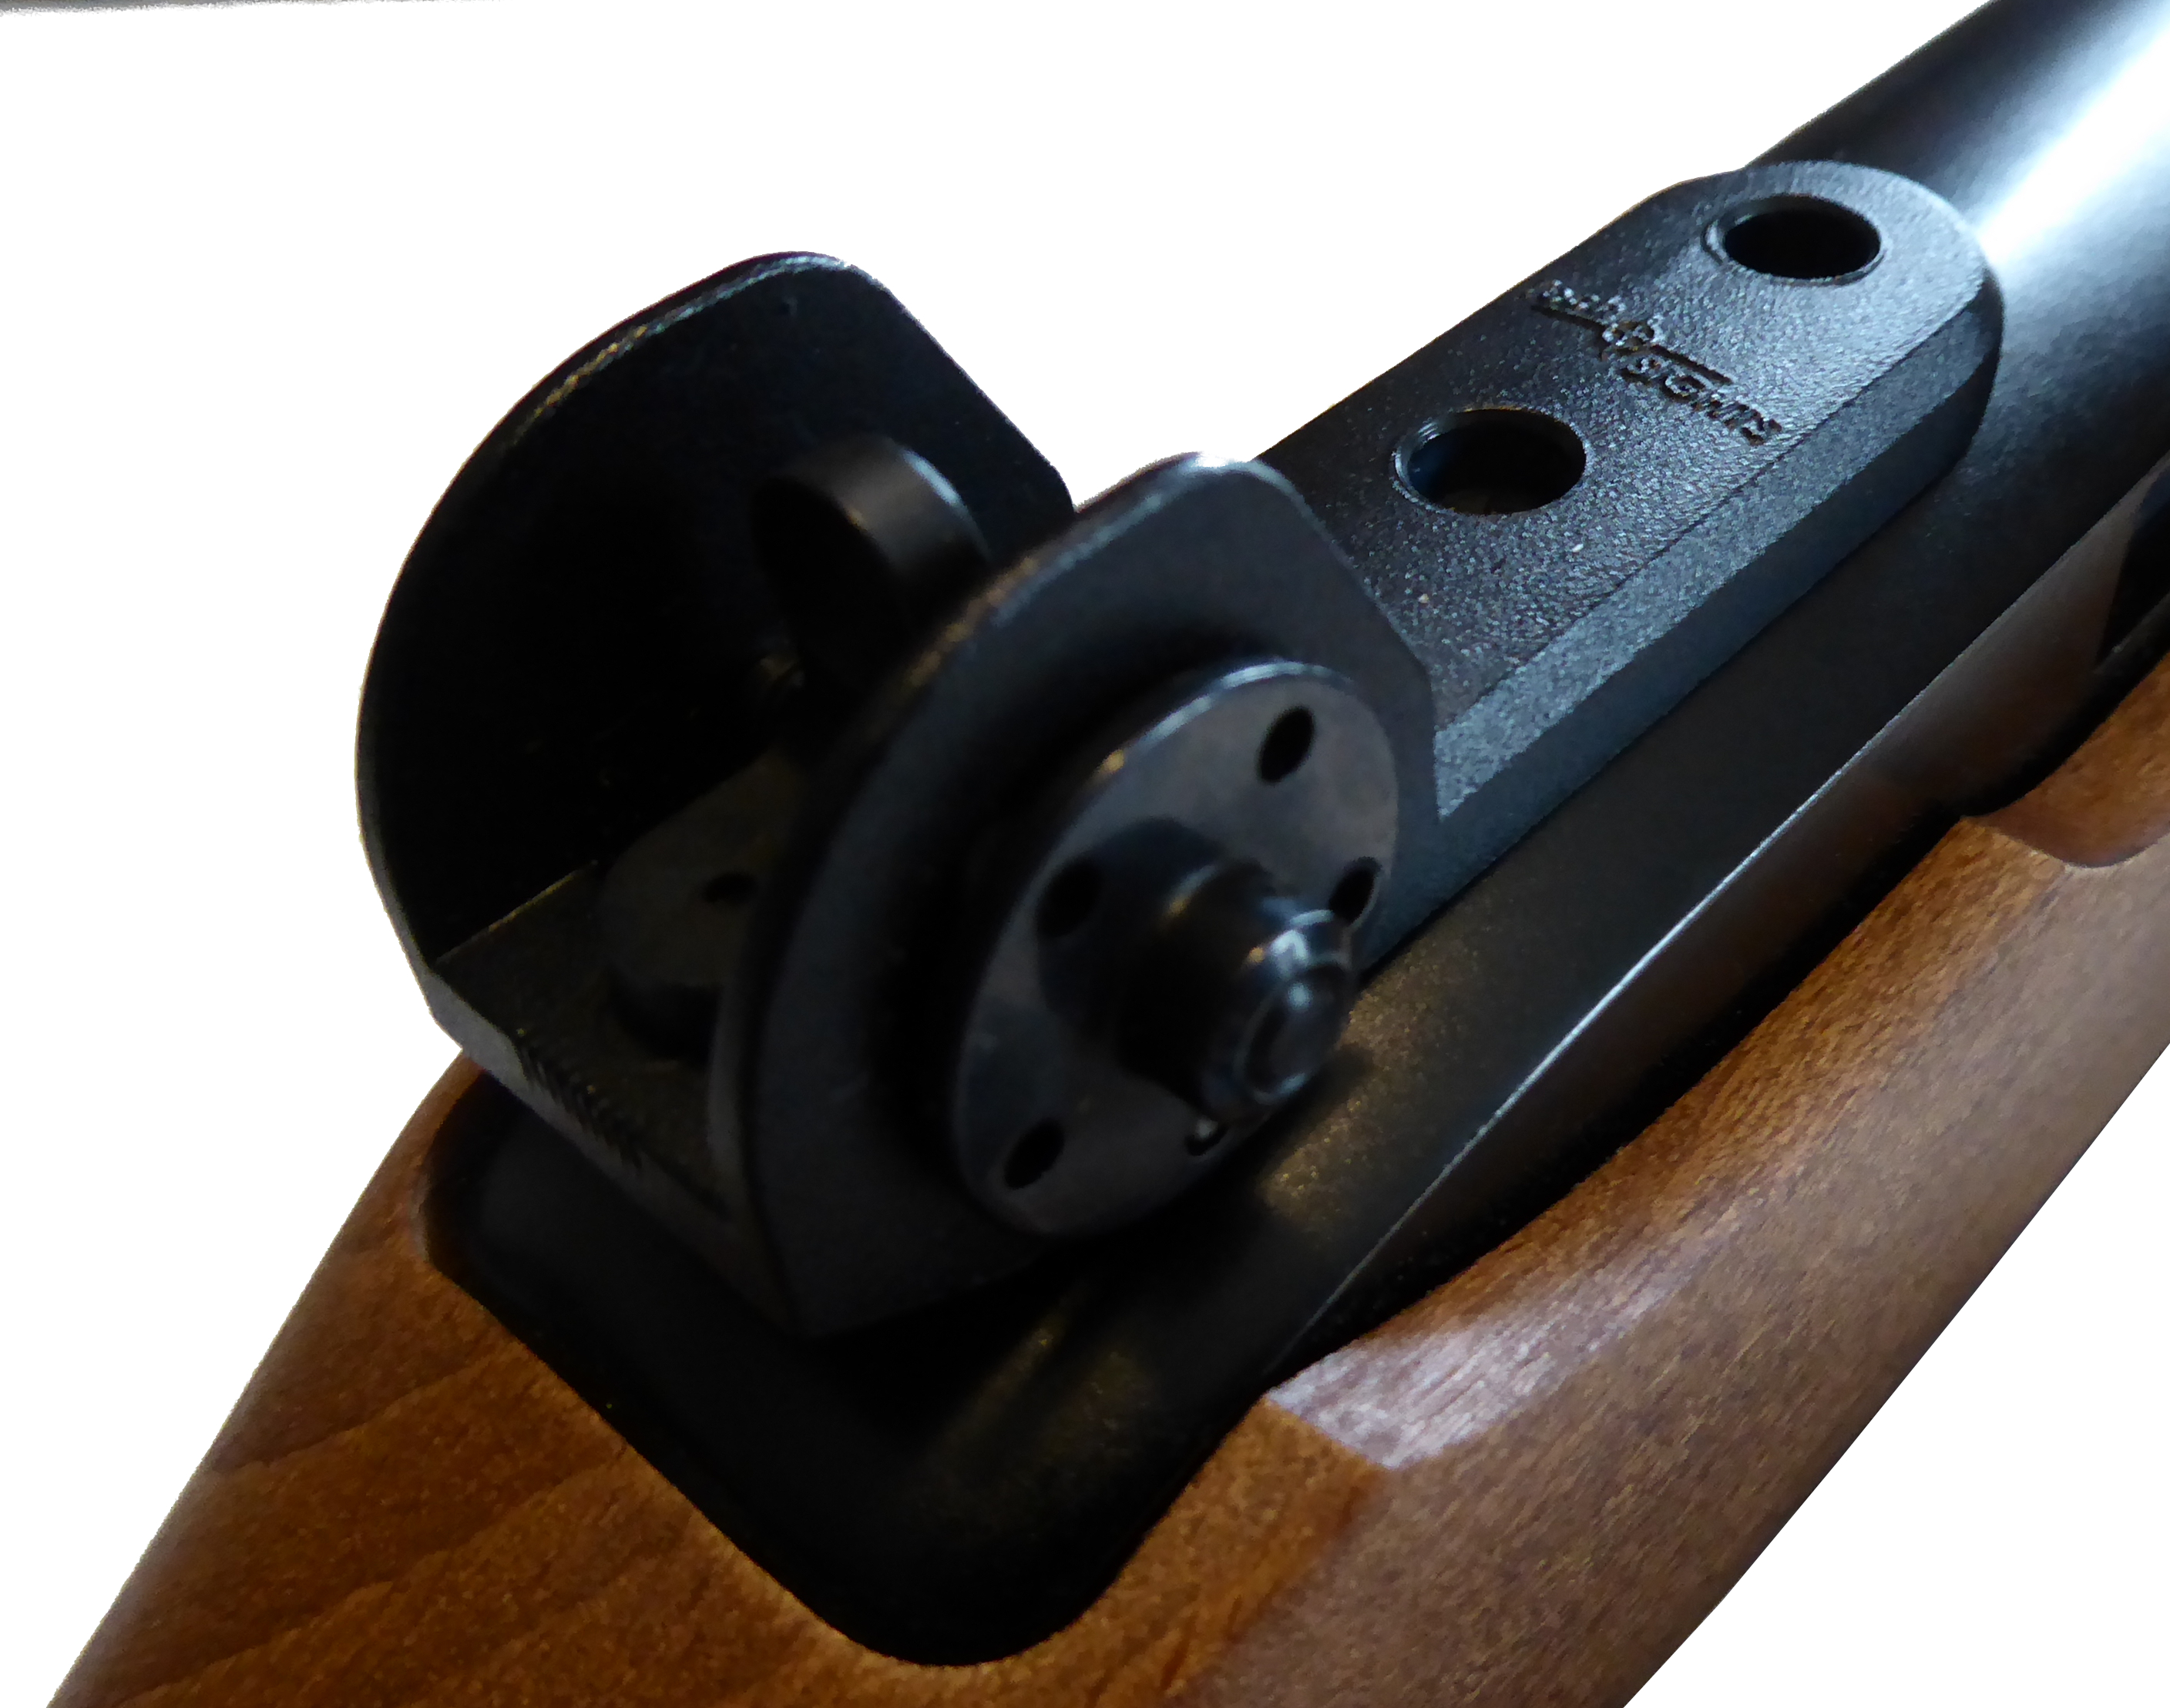
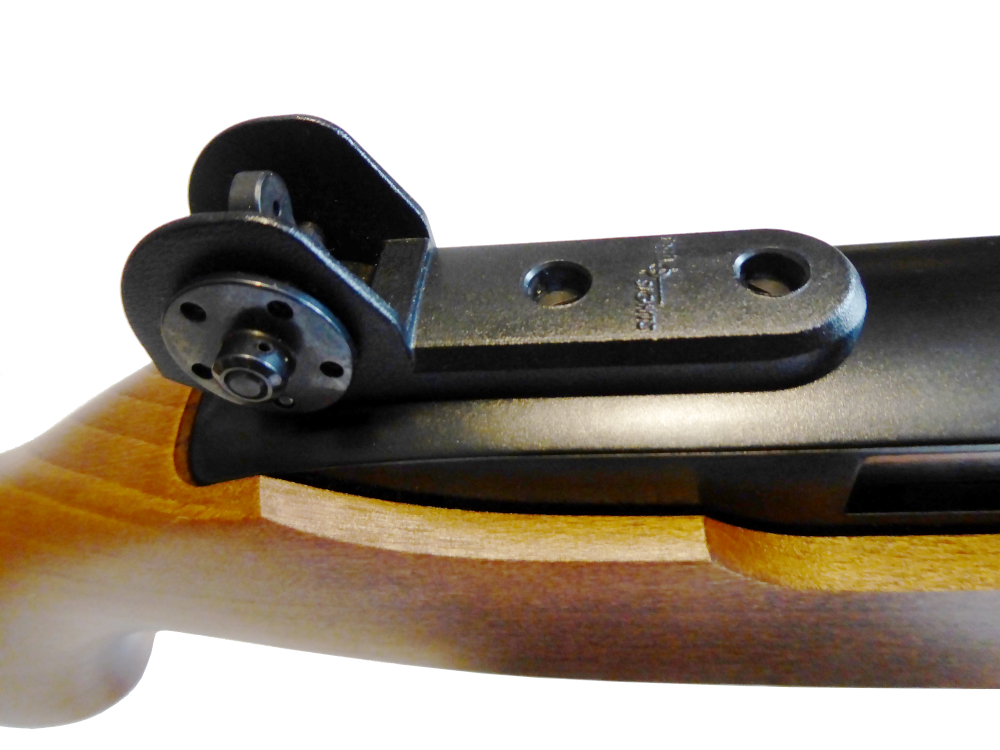
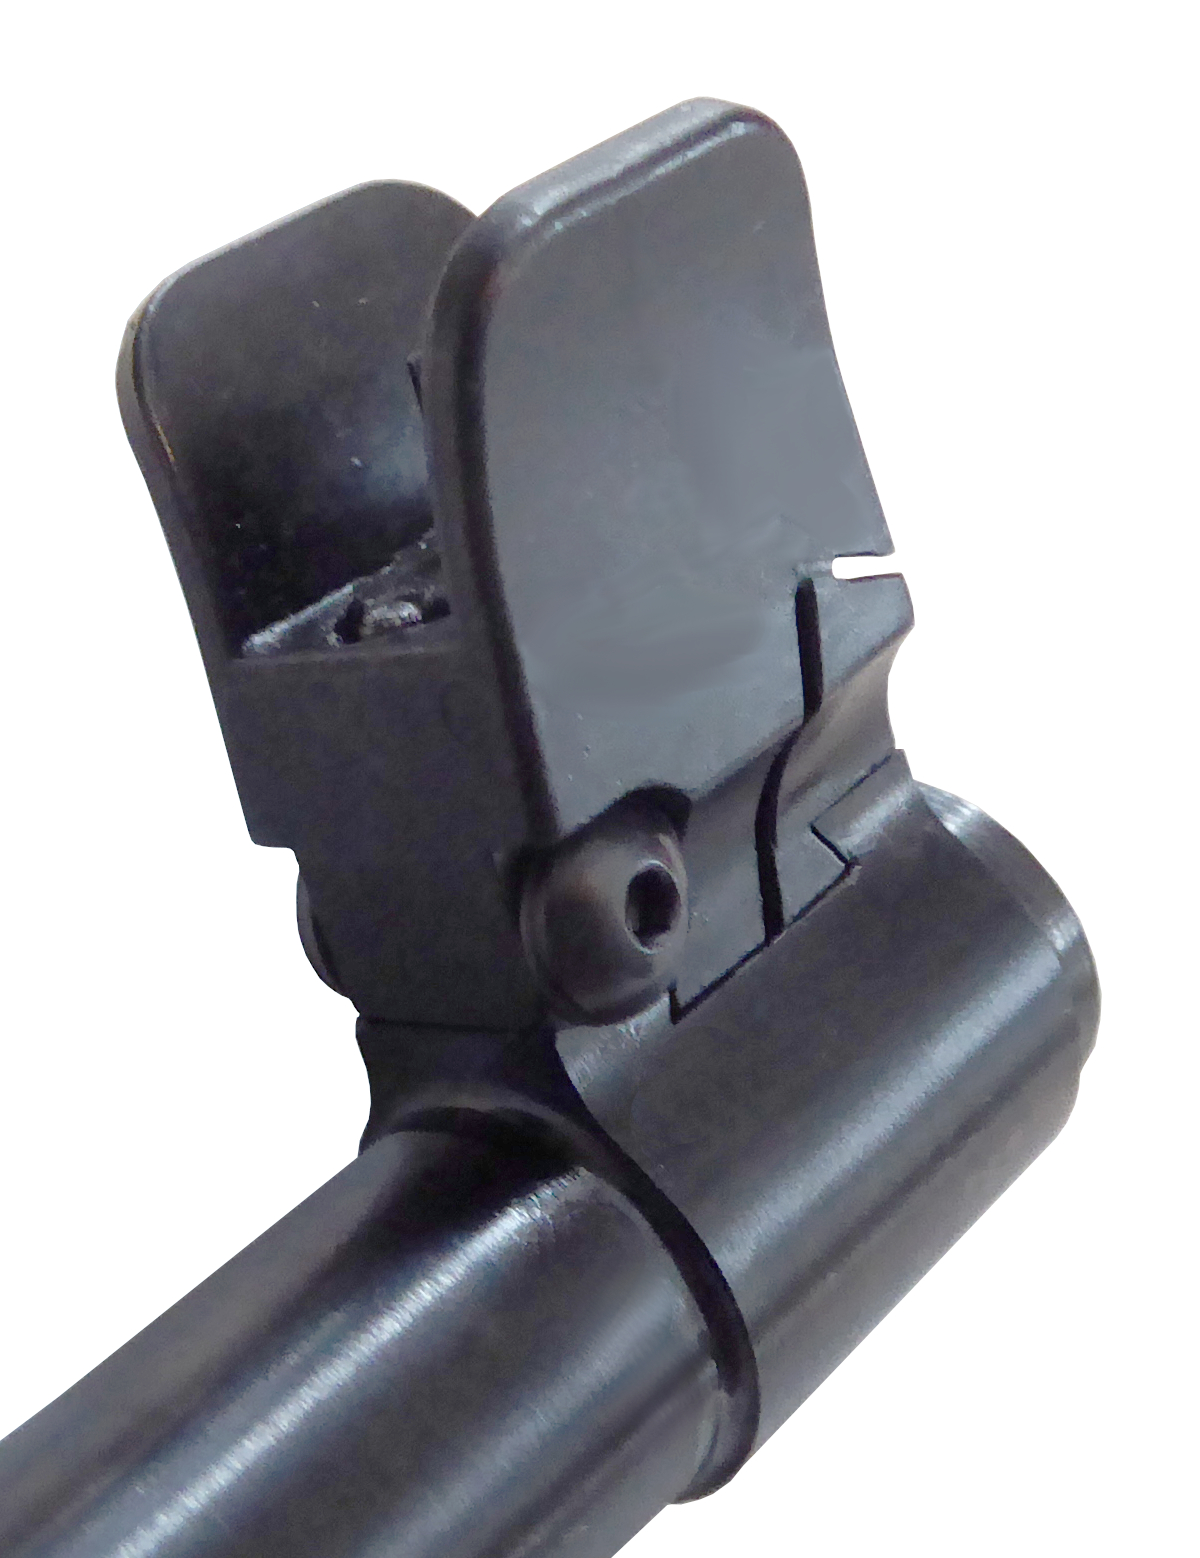
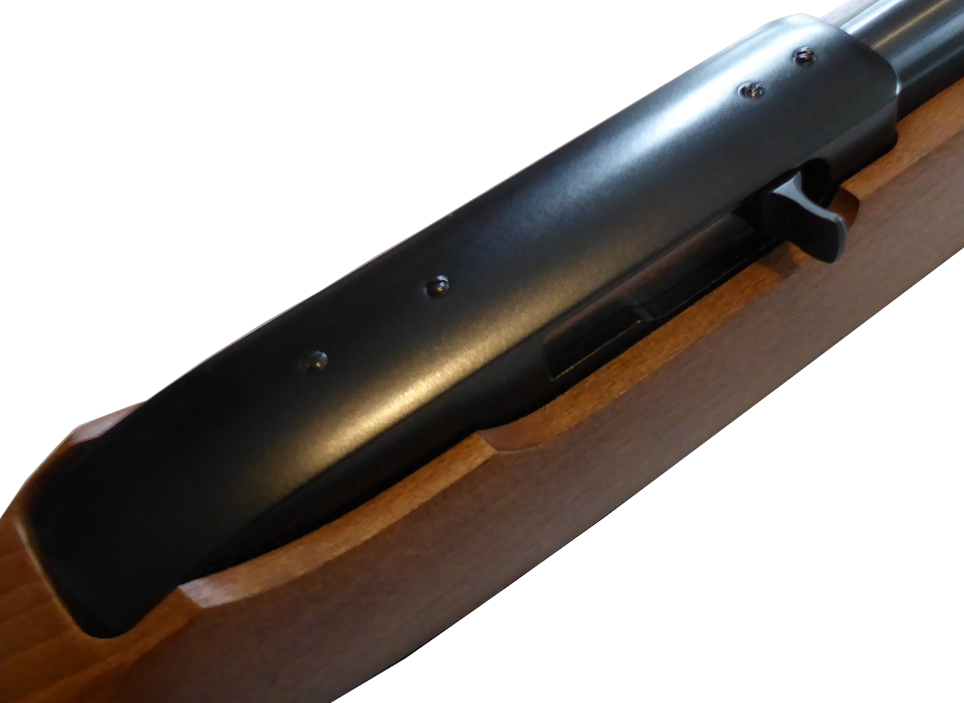
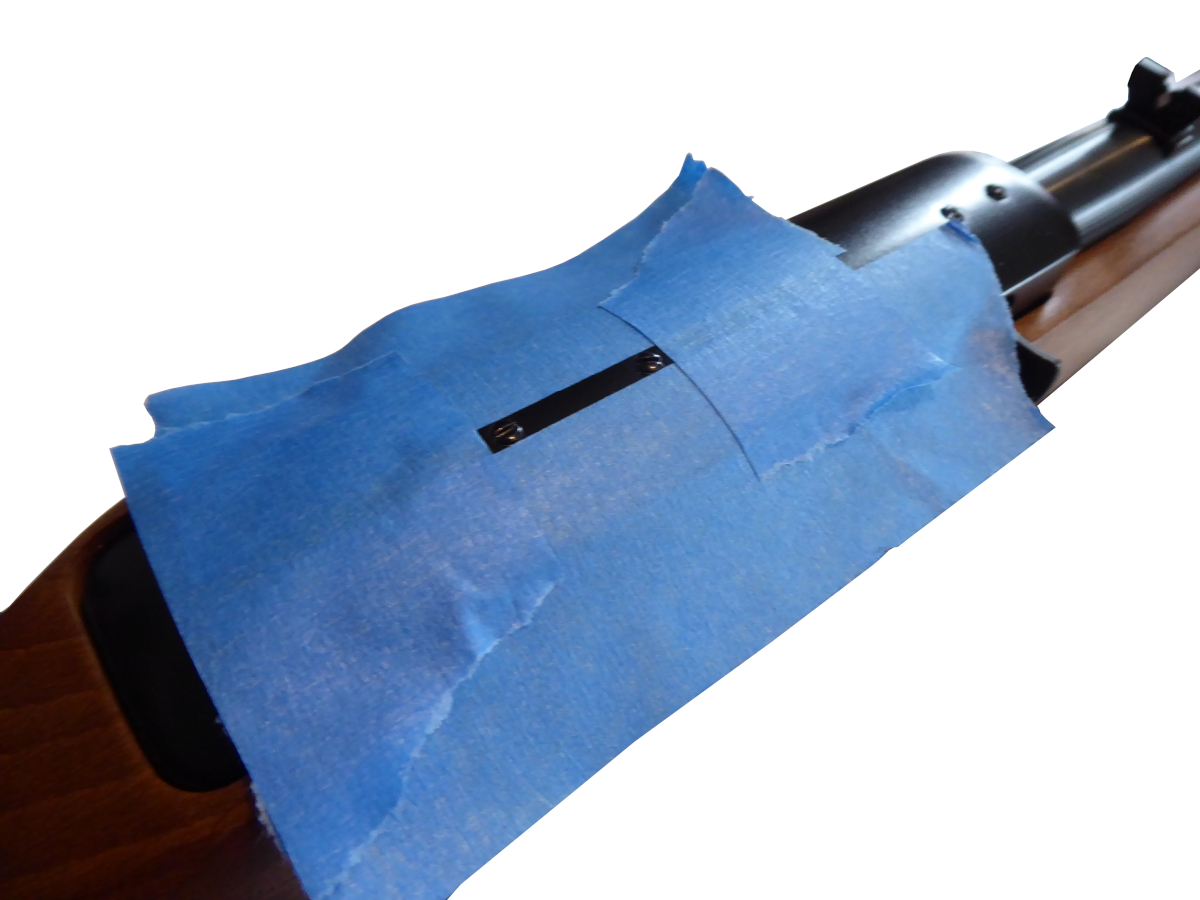
With the front sight installed, you can now prepare to install the rear sight assembly. If you are working with a factory-fresh Ruger 10/22 action, the screws in the factory mounting holes may be blued over, making them difficult to remove. Combine this with a small slotted screwdriver, and you have a recipe for slippage and the possibility of unfortunate damage to the finish. To avoid this, we laid blue painter's tape over the top of the action. This won't prevent all damage, but it will prevent superficial scratches caused by screwdriver slippage. You only need to remove two rear-most receiver screws. Substantial force may be required, but they will eventually crack.
Once the two rear receiver mounting screws are removed, apply a thin layer of blue thread compound to the TST00143 flat head screws and install the rear sight assembly on the receiver. Snug the screws, but do not over tighten. The Ruger 10/22 receiver is aluminum, and over-tightening the mounting screws may strip out the threads.
With the rear aperture assembly installed, take a break. Your sights are mounted! Take a step back and admire your rifle, now upgraded and ready to be sighted in.